By Ben Newth
What does flat pack furniture and video production have in common? A visual instruction manual that allows your vision to become reality – this is the storyboard.
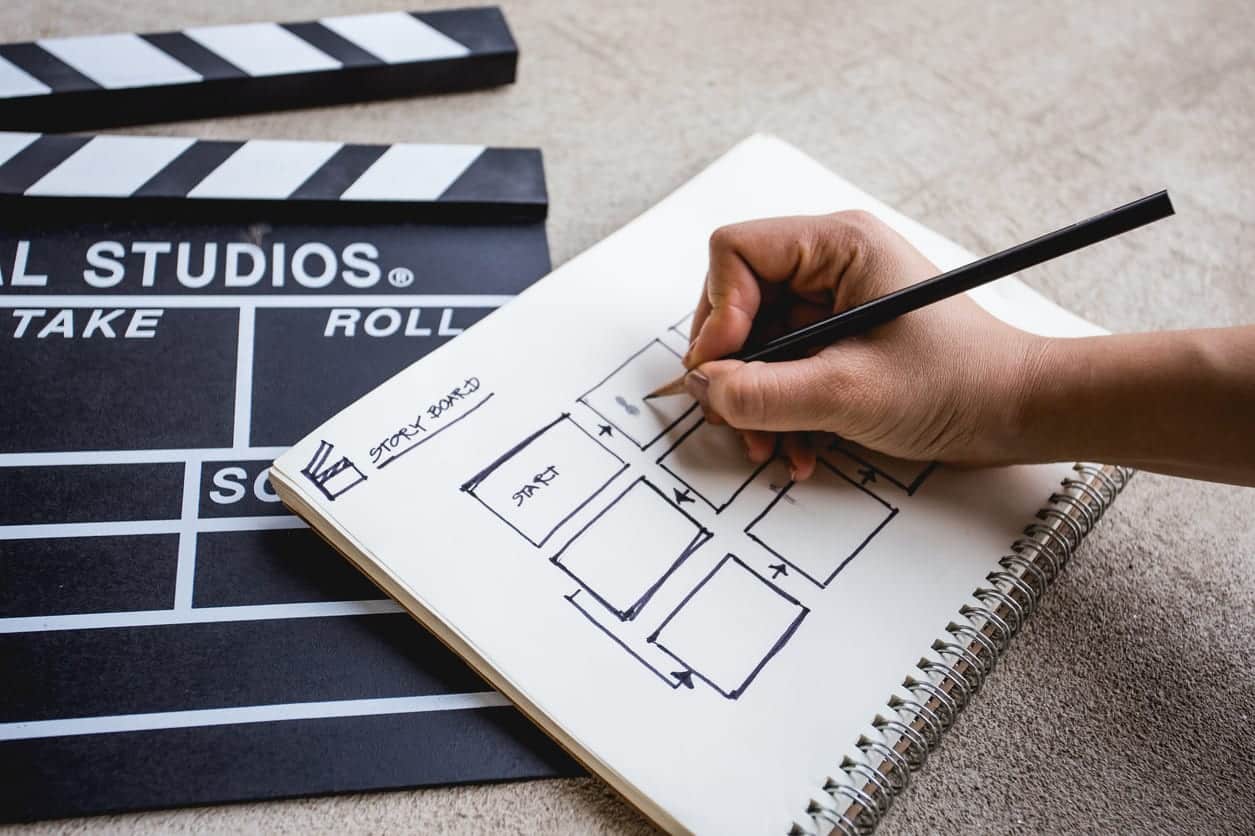
Storyboards are useful and simple planning pieces that tell everyone involved how the story will be told and how the video will look. A bit like how the furniture looks on the outside of the box and you know that’s what you want to produce. Storyboards usually are step by step, and use a series of frames to show the different shots you’re going to need. If you’re investing in video content for your business, it’s well worth putting in the extra time to get your storyboard right. Here’s how to storyboard your video campaigns.
Step 1. Outline
There are many templates available online for storyboards but it is also perfectly fine to freestyle it and design your own. Rectangular 16:9 ratio boxes will be needed, as these are how camera will film. The layout can be three with note space below, or six with a smaller text space, it depends on the amount of detail you are aiming for.
Step 2. The Script
The script can now be integrated into your storyboard. Each shot may not have a corresponding dialogue sequence but it does allow your story to begin taking shape. What’s important at this stage is to make sure you aren’t forgetting about any shots without dialogue, like establishing shots, or intense close ups.
Step 3. The Art
This is the bit that puts many off bothering with storyboarding — the drawing. Clients and creatives don’t actually mind if it is just badly drawn stick figures on a page. This will take less time than sketching in full detail, allowing for more approval and changes within the time constraint. The key thing to remember is as long as everyone involved in the project understands the story and progression, the artwork does not matter.
Step 4. The Technicalities
Close-up, slow mo, quick cut editing. Lots of technical bits can be covered now. If you have never shot a video before don’t worry, write the terms down in the way you will understand them. ‘Camera follows person down street at height level’ is perfectly fine, as long as the communication is clear, your journey will be a smooth ride. This stage can also be used to add in location ideas and notes as an addition to the sketches.
Step 5. Audio
So you’ve plotted the script points on the video roadmap, but now you need to get some audio notes around the visuals. Comments about any music tracks, audio gaps or dips for speech, for example, should be made. If you haven’t decided on a track yet, the storyboard should give you an inclination of what kind of tone you are aiming for so bear that in mind.
Step 6. Numbers
If you get around to numbering and ordering your shots now, you can create a shot list for the actual day of filming. This will make the process quicker and you will get more video out of your time, money and effort.
It is integral to organize as much as possible before the shooting begins. Even if you only have a very small-scale project in development, a storyboard is still extremely useful as it allows you to edit ideas and shots before they’ve even been filmed. The most important part of storyboarding, is the story. Making sure the narrative flows and the shots aren’t disjointed will mean you’ve got a solid idea that’s ready for filming. Remember to assess the goals of the video at the end of the storyboarding process. If you can see how the video is going to represent your company, product or service and the aims of the whole process are still clear, you have created an effective instruction manual.

