
pexels.com
Creating a virtual tour is a great way to give your audience a feel for a space without being in person. It’s also great to showcase a property you’re selling or renting. Whether you’re looking to create a virtual tour for business or pleasure, there are a few things you’ll need to keep in mind. This beginner’s guide will show you how to create a virtual tour step by step.
What Is A Virtual Tour?
A virtual tour is a computer-generated simulation of a real place, often consisting of a series of still images or video clips. They are usually created to give people an idea of what it would be like to visit a certain location and can be used for educational and promotional purposes.
Creating a virtual tour can be daunting, but with the right tools and planning, it can be relatively easy. This guide will cover the basics of creating a virtual tour, including choosing your subject matter, setting up your camera, and creating the tour itself.
Choosing Your Subject Matter
The first step in creating a virtual tour is deciding what you want to include. This will largely be determined by your reason for making the tour and your audience. For example, creating a virtual tour for a school project will likely want to include different landmarks and points of interest than creating one for a travel website.
Once you know what you want to include, you need to choose a location. This can be anywhere in the world, although it is often easiest to start with somewhere close to home. Once you have chosen a location, start planning your route and note any specific landmarks or points of interest that you want to include.
Creating a virtual tour is a great way to give viewers a realistic, first-hand look at your business or vacation rental property. But how do you get started? In this beginner’s guide from Giga Works, we’ll show you how to create a virtual tour step by step, using the popular 360° video format.
What You’ll Need
To create a virtual tour, you’ll need:
A 360° camera: We recommend the Insta360 ONE X, an easy-to-use, all-in-one 360° camera that records 5.7K video and 18MP photos.
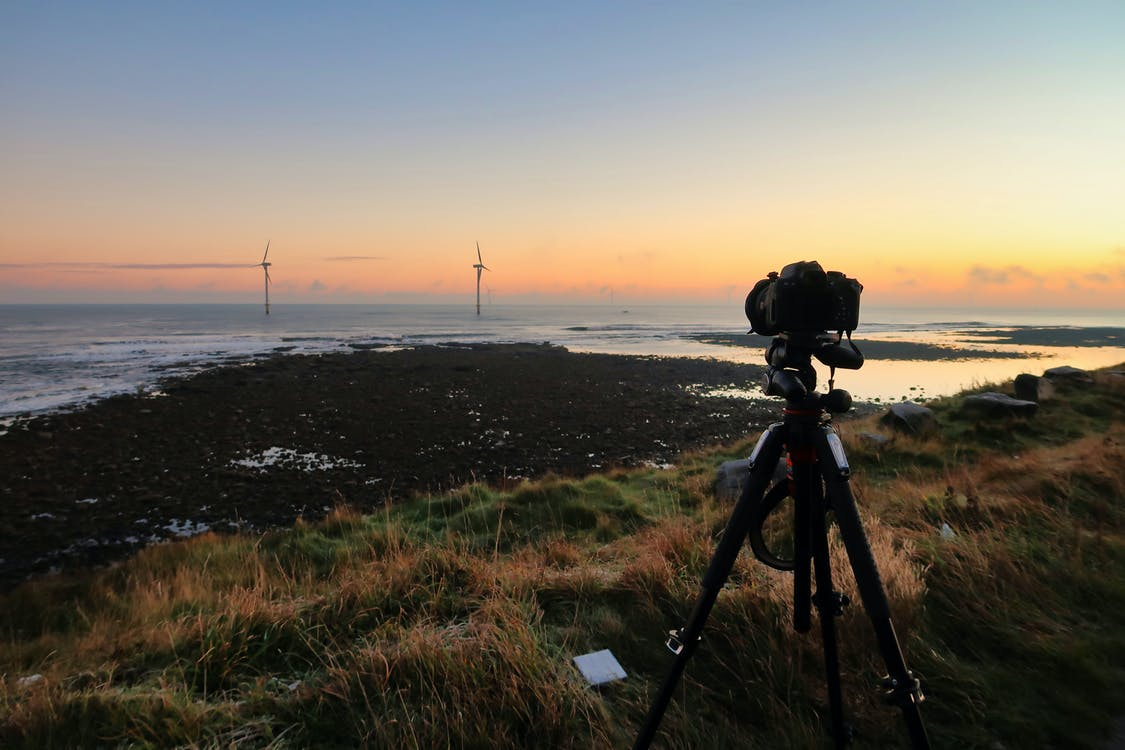
A tripod: A tripod is essential for keeping your camera steady and ensuring smooth, professional-looking footage.
Optional: A smartphone or tablet: You’ll need a smartphone or tablet to control the camera and stitch together your footage (more on that later).
Now that you have everything you need let’s get started!
Step 1: Find the Perfect Location
The first step in creating your virtual tour is finding the perfect location. This can be anywhere, but we recommend starting somewhere close to home. Once you’ve chosen a location, spend time walking around and brainstorming the best places to set up your camera.
Some things to keep in mind when choosing a location for your virtual tour:
Is there a lot of foot traffic? You’ll want to set up your camera where people are constantly moving so that viewers can sense the space and activity level.
Is the lighting good? You’ll want to ensure there is plenty of natural light so viewers can see everything.
Are there any interesting landmarks or points of interest nearby? These could be anything from a notable building to a scenic view. Including them in your virtual tour will give viewers a sense of the area and what it offers.
Step 2: Set Up Your Camera
Once you’ve found the perfect location, it’s time to set up your camera. If you’re using the Insta360 ONE X, we recommend using the Bullet Time Handler accessory. This will allow you to capture smooth, professional-looking footage while keeping your hands free.
To set up your camera:
Attach the Bullet Time Handler to the bottom of the ONE X using the included mount.
Thread the string through the eyelet on the top of the handler, and then tie it off at the desired length. We recommend a length of 3-4 feet (91-122cm).
Attach the ONE X to the top of the handler using the included mount.
Finally, secure the string to a sturdy object like a lamppost or fence post. This will ensure your camera stays in place while you’re capturing footage.
Step 3: Shoot Your footage.
Now that your camera is set up, it’s time to start shooting! We recommend walking around your location and taking short video clips of different areas. Keep moving as you shoot so viewers can sense the space and activity level.
If you’re using the Insta360 ONE X, we recommend setting your camera to “Logo Up” mode. This will allow you to capture smooth, stable footage without needing a tripod.
Once you’ve captured all the footage you need, it’s time to move on to the next step: stitching.
Step 4: Stitch Your footage.
If you’re using the Insta360 ONE X, you’ll need to stitch your footage together before you can start editing. Stitching is the process of combining all of your video clips into a single 360° video file.
There are two ways to stitch your footage:
Using the ONE X app: The easiest way to stitch your footage is by using the ONE X app, which is available for iOS and Android devices. Connect your camera to the app and follow the instructions on the screen.
Using the Insta360 Studio: If you prefer, you can also stitch your footage using the Insta360 Studio desktop software. This method is a bit more complex but gives you more control over the final product.
Once your footage is stitched together, you’re ready to start editing!
Step 5: Edit Your footage.
Now that your footage is stitched together, it’s time to start editing. Again, if you’re using the Insta360 ONE X, we recommend using the ONE X app for this step. The app includes a built-in editor that makes creating a professional-looking virtual tour easy.
Using the Insta360 Studio, you’ll have more control over the editing process. This method is a bit more complex, but it allows you to add special effects and transitions to your virtual tour.
Once you’re happy with how your virtual tour looks, it’s time to export it and share it with the world!